

You've been invited to speak at a virtual or hybrid session at an event using Bizzabo to run their event. This guide is to ensure you're able to log into the virtual room in order to present your session.
You'll receive an email with the subject line "[Event Name] Speakers/Moderator Portal Invite". It'll look something like this. Don't lose this email, as you'll need it again when it's time for the event.
Click the "Join Portal" link and you'll be taken to a login screen asking for your email and password. Enter in the email you received the email to, and choose a password between 6 and 25 characters.
Now you're logged in, you will see a list of sessions you're participating in in chronological order.

If your session is being held virtually, you'll see an “Enter Virtual Room” button on the top right-hand side of the session card. Click this to be taken to your virtual room.

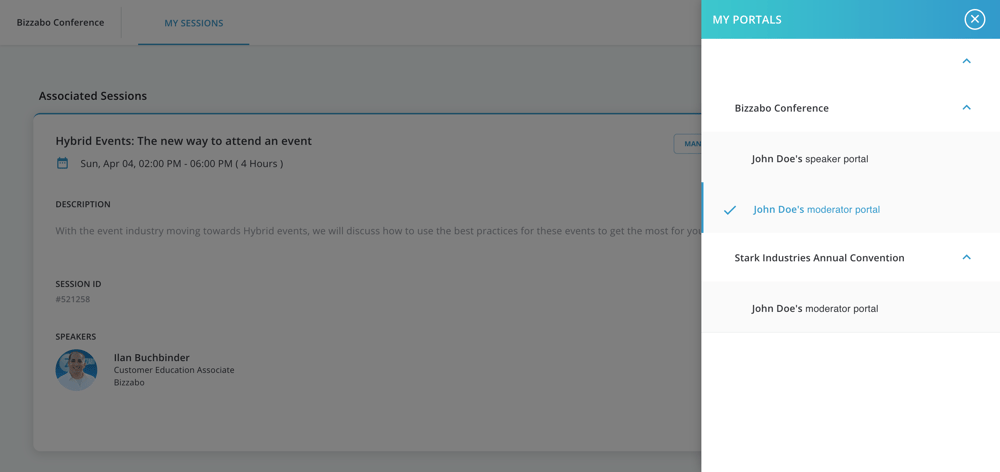
You may have been invited to multiple events as a speaker or as a moderator. Click on the icon of your profile in the top right corner, and click on My Portals.
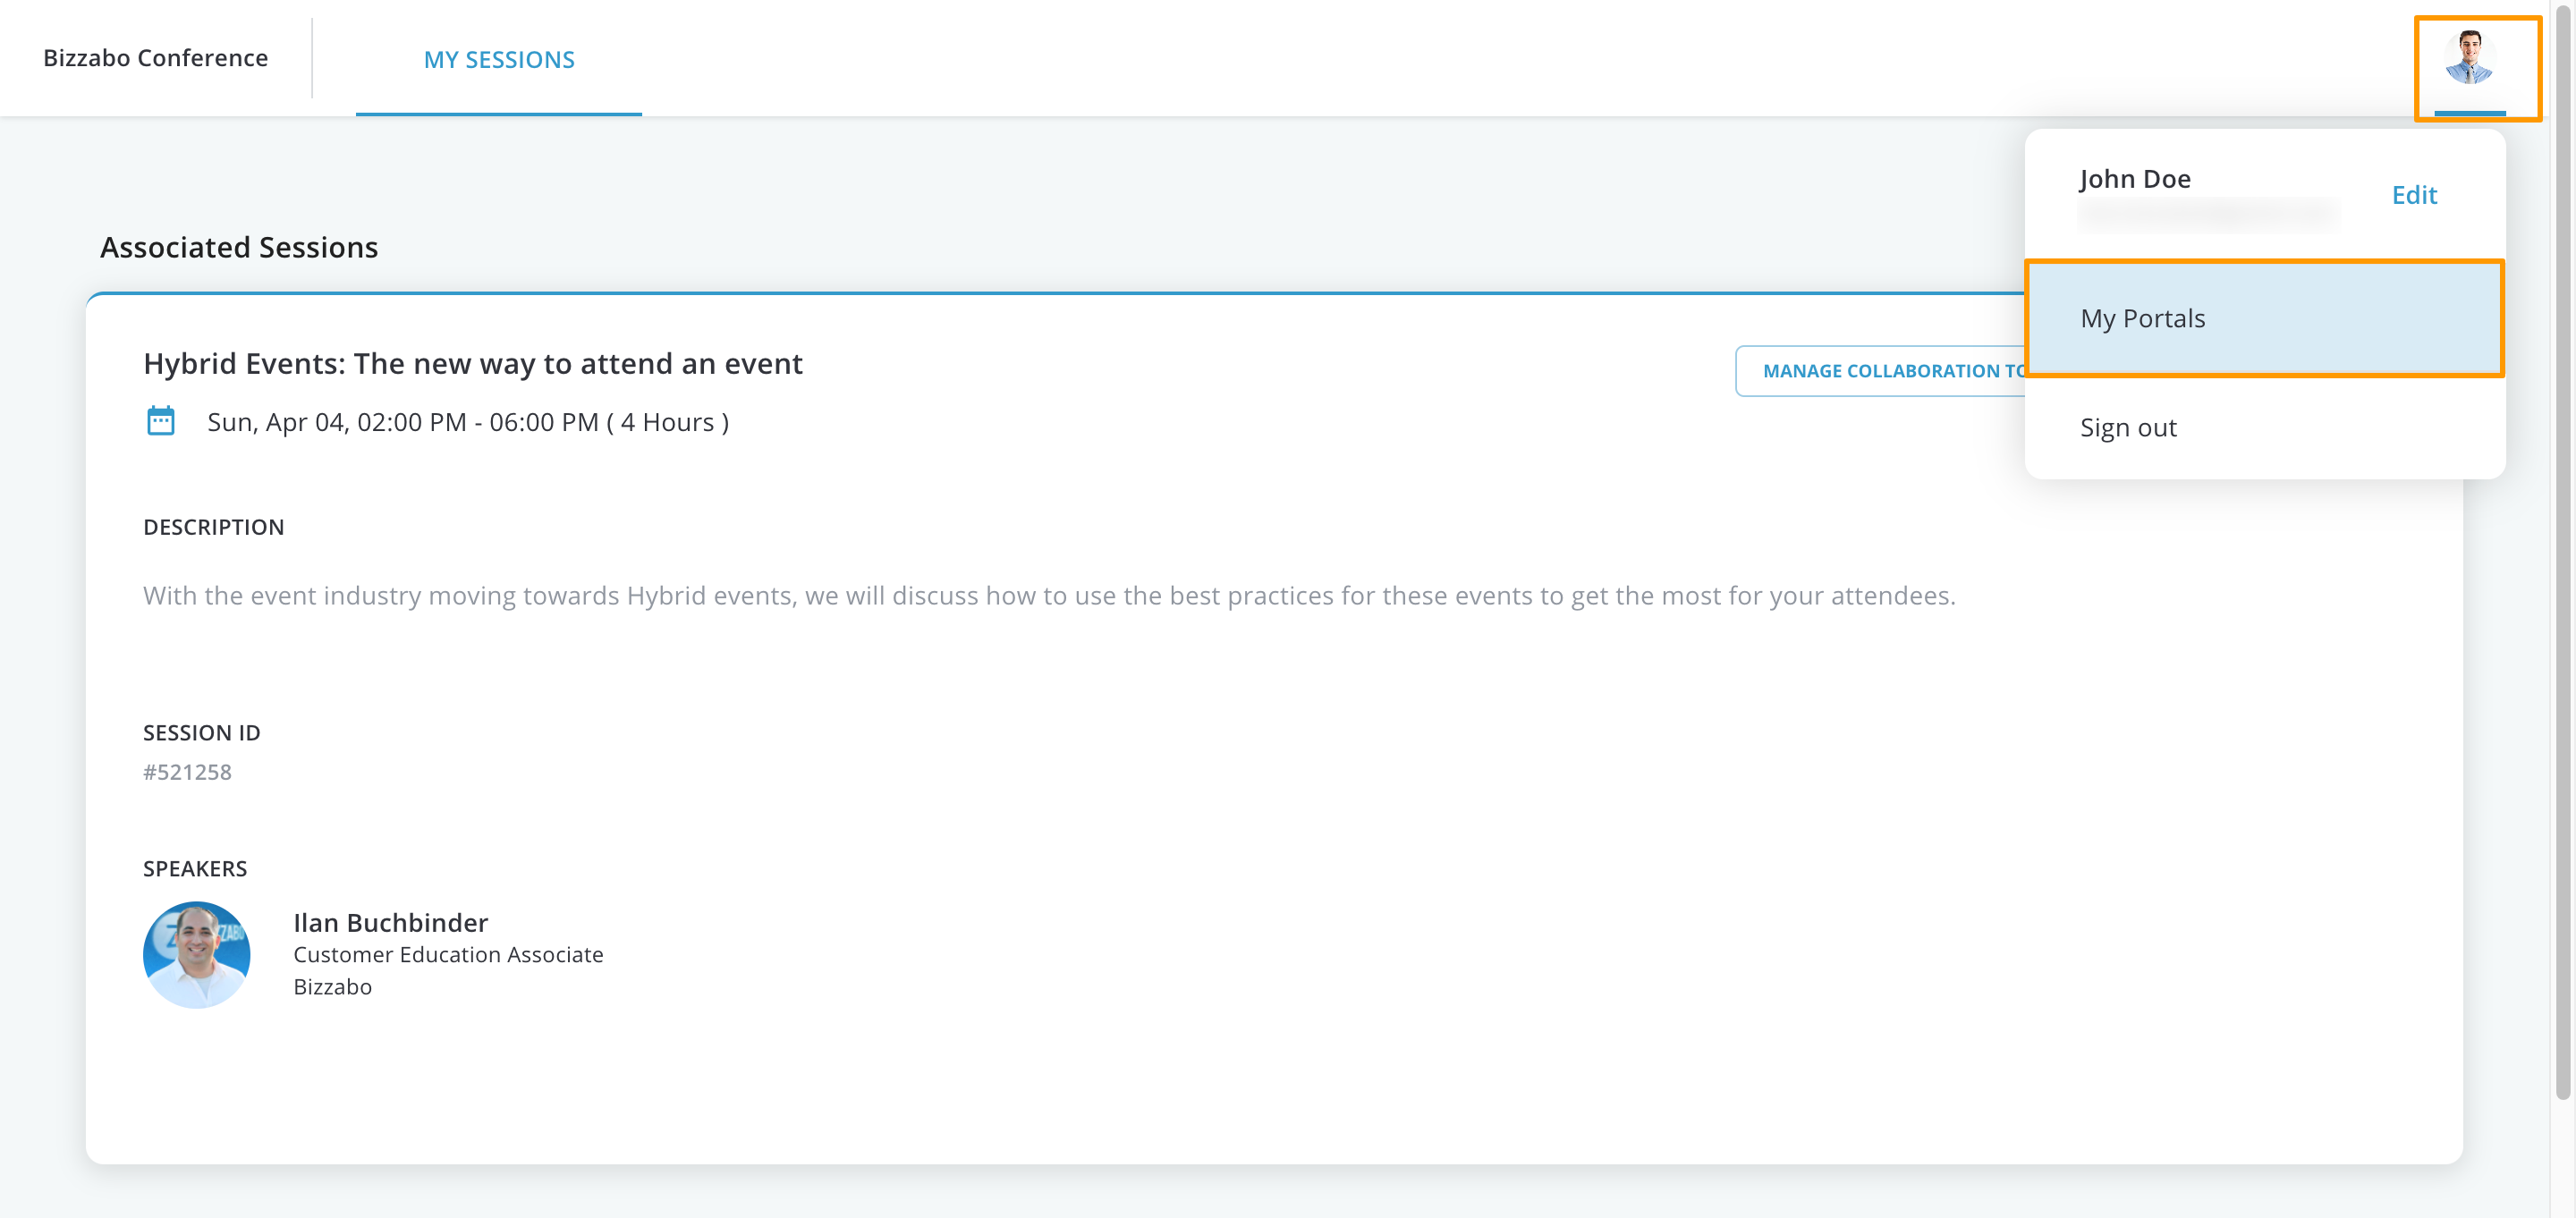
In the My Portals tab, you can see a list of all the portals that you have joined, for different events as well the different portals that have joined for each event.
If your session is being held virtually, you'll see an “Enter Virtual Room” button on the top right-hand side of the session card. Click this to be taken to your virtual room.
If you want to be answering Q+A during the session, click “Manage Collaboration Tools”. This will open the Q+A element for during your session.
Make sure you check with the event organizer ahead of time when you're expected to be in the room and your responsibilities for the session.
Once you have entered the room as a Speaker, it is ideal for you to want to “set the table” for your upcoming session. Let's take a look at preparing yourself for your audience.
When you join your session, you will be prompted to start recording. Choose the option that is closest to the length of your session. If you don’t want to record yet, don’t worry. You can always start recording later.

As a speaker you can enter the room well before your session begins, to make sure everything is ready. Your session will go live for attendees according to the time when the session begins.
Now let’s have a look around the room. You will see your Participant list as well as your Chatbox in the right column. A participant with a star by their name is either a Speaker or a Moderator.

If you intend to make yourself visible, due to GDPR compliance, you will first need to grant your browser permission to access your mic and camera by clicking on the buttons highlighted below and granting access.

Once you have given permission, take a look at the participant’s window in the right column. You should notice that the “Live” button is now clickable. When you want to toggle on your camera and/or microphone, click on “Live”, this will bring you on stage.

Now let's take a look at your Chat box. You will notice you have 2 buttons to choose from.

Before your session begins, make sure you have your presentation materials ready. Click on the “Playlist” button on the top row, and you will open the Playlist tab on the right. Click on the presentation to bring it to the stage.

If you don’t see the materials you need, you can always add them yourself.


If you are using a presentation deck, you can navigate through it by:

If you don’t have a presentation deck, the default screen is the Whiteboard function. This function lets you draw on your screen and present it to your audience just like a real whiteboard!
If you would rather the audience just see your camera, click the X in the top right corner!
You don’t need to do anything to start your session, as your attendees will automatically join your session the moment the session starts. Your attendees will see whatever is “On Stage” in front of you, so make sure you are prepared!
Your attendees may choose to communicate with you via the Chat element in the bottom right corner. When a message comes in, there will be a little red notification above the relevant buttons.

Clicking on them will open the Chat element. Your responses are both public and instant!
Tip! If you hover over the message, click on the arrow in the bottom right corner, and you can “Reply” specifically to that message. This should prevent any misunderstandings!
Remember that window with your collaboration tools we opened from the portal? This is where you can manage Questions asked by your audience.
There are 3 tabs on the right-hand side of the Q&A Tool:

Opened

Approved


Dismissed

Settings

In the top bar on the attendee side, there is a Raised Hand button. This allows your attendees to virtually grab your attention to ask a question. When your attendee clicks on this button, they will jump to the top of the Participants pane and will have a raised hand icon next to their name. The attendees are sorted in chronological order of them raising their hands.
Once you have addressed the attendee’s question, click on the raised hand icon and their hand will be put back down. 
The notes function lets you broadcast a note to all your session participants at once. Use this to send rules, links to other websites, or just to say Hi to your attendees.
Click on the notes button on the top row of the screen. This will open the Notes pane on the right-hand side.

Type in your message in the text editor. When you’re done, click on the “Broadcast Note” button to send your message.

When you’re done with your session, click the “Confirm End Session” button in the row.
Next, click the “Yes, End Session” button to finish your broadcast.

Test your camera and microphone a few hours before the event, and again 30-minutes before.
Not speaking but still streaming live? We always recommend muting your microphone to ensure no background noise is picked up, just don’t forget to unmute when it’s your turn to speak again!
We recommend Google Chrome be used as the internet browser when utilizing our tool.
Webcam Tips - Make sure the webcam is in the height of your eyes. Most of the built-in webcam's quality is sufficient. However, an external webcam with higher quality can work even better.
Lighting Tips - Ideally, you should have lighting in your direction. If you don't have this equipment, simply make sure that the background won't be a window or any other light source that might make you look dark.
Have a cup of water and a box of tissues nearby. You don’t want to have a dry throat during the session, nor do you want to sneeze and rush around looking for a tissue.